Removing Files with Shredder
Watch tutorial on Shredder
Shredder will easily erase your personal files once and for all, without any chance to recover them. A need to completely destroy personal data may arise, for example, when you are selling your Mac or changing a hard drive in the service center. This will save your data from possible unauthorized access, as it can be recovered by specialized software.
Shredder's working principle is quite simple:
1Drag the items you would like to shred to Shredder’s work area or add them using the Add button.
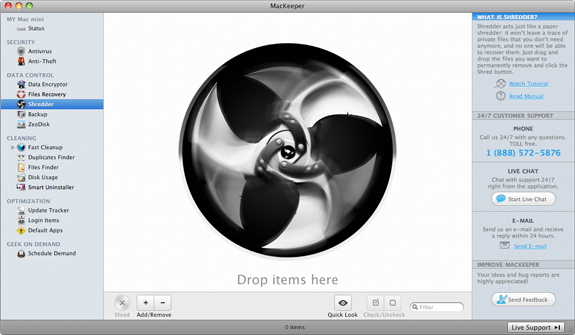 Shredder Page
2As a result the items will appear in a list with the file title and size.
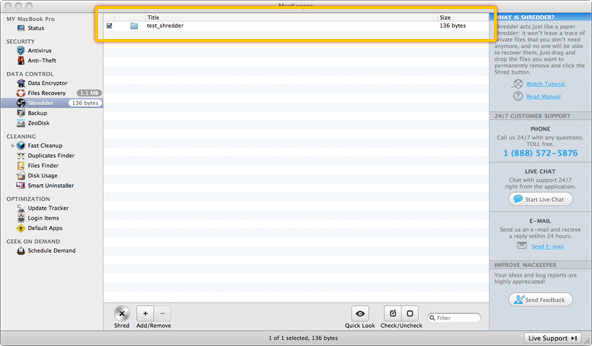 The items will appear in a list with the file title and size.
3Add more items if you wish, or remove the items from the list if you change your mind using the Add/Remove buttons. You can also use the drag and drop functionality to add items.
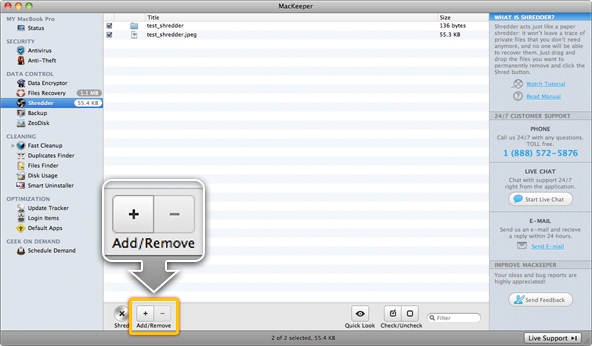 Add more items if you wish, or remove the items from the using the Add/Remove buttons.
4Preview the items using the Quick Look button.
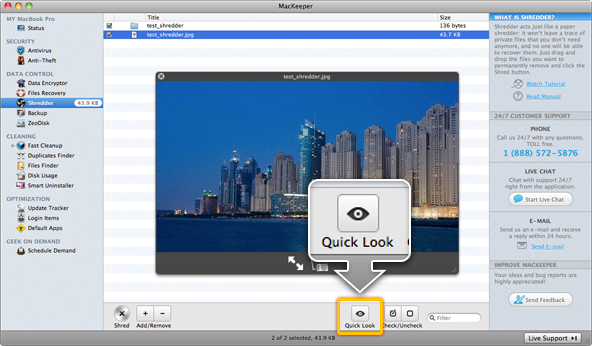 Preview the items using the Quick Look button.
5Click Shred and confirm this action in the dialog that appears.
 Confirm shredding in the dialog that appears.
6If you use Shredder for the first time, you will be required to enter your Mac user password. Shredding will take some time depending on the file size, but once it is complete, you can rest assured that your files are gone forever.
Shredder Preferences
How to set up Shredder in Preferences?
Shredder Preferences