Restoring Files with Files Recovery
Watch tutorial on Files Recovery
The Files Recovery feature can restore accidentally deleted files even if they were removed from the Trash. Files Recovery restores the most popular formats for the HFS Plus file system and all possible file formats for the NTFS and FAT file systems:
Audio:
- mp3
Video:
- mov
- avi
Photo:
- jpeg
- png
- bmp
- tiff
Documents:
- all office formats
- rtf
- xml
- html
- plist
- zip
Let’s see how Files Recovery works.
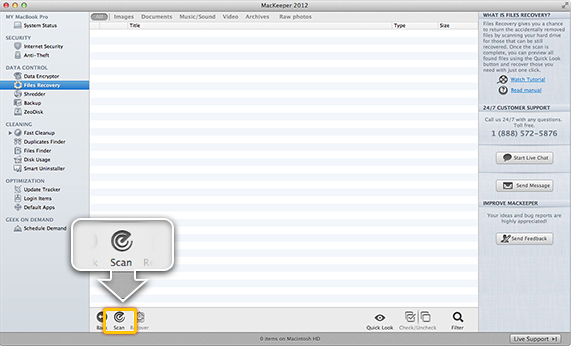
1Select the volume from which the lost files were deleted, and then click Start Scan. Enter your user account password to check the volume for the presense of lost files. It may take a lot of time, because Files Recovery sometimes needs to collect tiny bits of files from all over the storage device. The scanning time also depends on size of the volume. On average, it is 650 MB of disk space per minute.
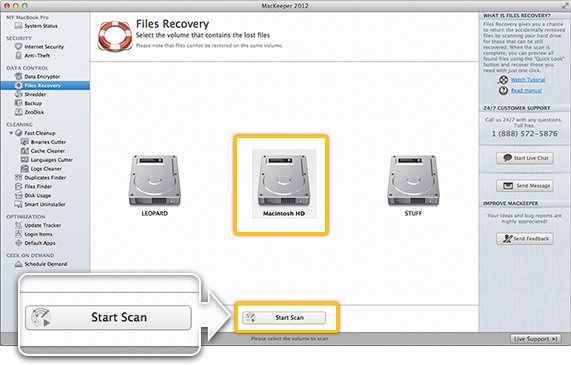 Select the volume from which the lost files were deleted, and then click Start Scan.
Important
If you change your mind and want to select another volume, you will lose the current scan results.
If the scan takes a lot of time, you can pause it by clicking Stop and resume it later even if you quit the application.
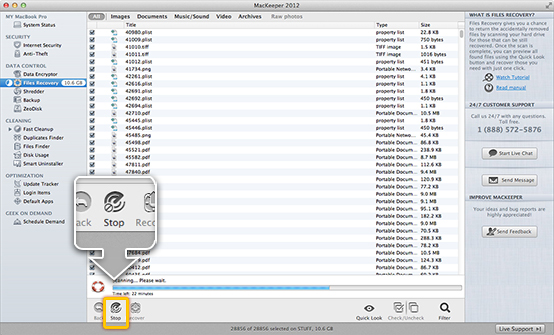 Click Stop to pause the scan.
To resume the scan, click Scan, and then click Continue. To start the scan all over again, click Scan, and then click Scan once again.
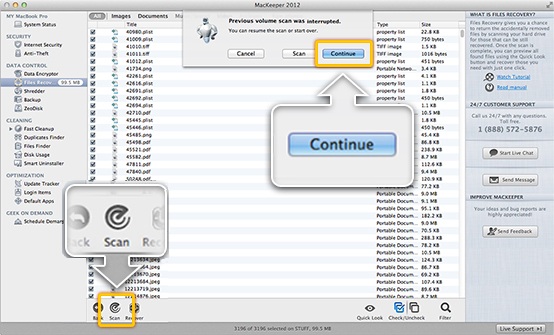 Click either Continue to resume the scan or Scan to start over.
3A list of files that can be recovered will be appearing piece by piece during the scan. If you are looking for a specific file, you can narrow down the search results by selecting the file type – Images, Documents, Music/Sound, Video, Archives or Raw Photos. To preview the files, click Quick Look. To search for specific files, use the filter field.
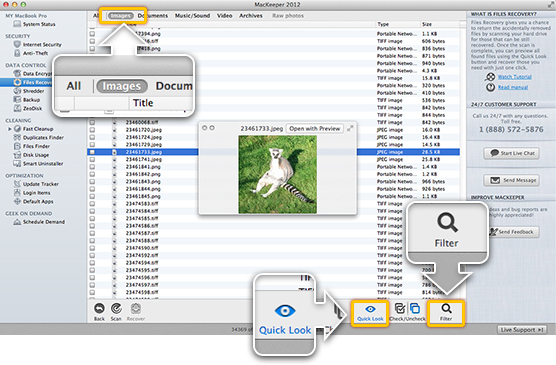 Narrow down the search results by selecting the file type – Images, Documents, Music/Sound, Video, or Archives. To preview the files, click Quick Look. To search for specific files, use the filter field.
Important
For HFS volumes, it is impossible to recover a file with its correct name except for the mp3 files.
4To recover files, do the following:
- Select the files that you are going to recover.
- Click Recover.
- Select where to save the recovered files.
- Wait until MacKeeper carefully restores your files byte by byte.
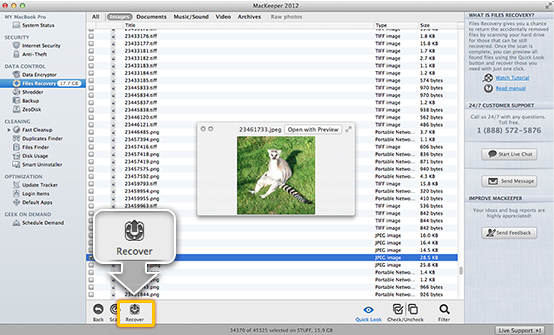 Click Recover to restore the files.
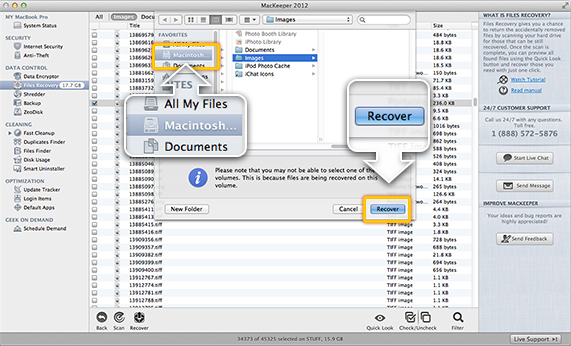 Select where to save the recovered files.
5To check if the files are recovered, open the Finder and locate the volume to which you recovered the files*. The files will be recovered to folders that have the names of the item type, e.g. Images, Documents, Music, Photo.
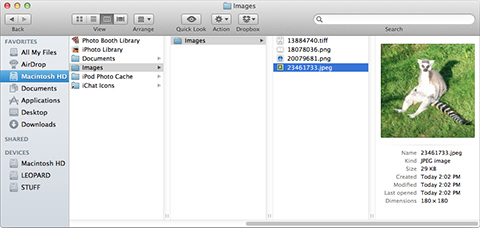 View the recovered file.
6If you want to scan the drive one more time, click Scan.
 To scan the drive one more time, click Scan.
Important
- 1*Recovery destination should be different from the scanned volume and have enough free space. It can be even your flash drive or external hard drive.
- 2New files that you create on your Mac can overwrite the deleted ones. Therefore, the chances of Files Recovery to restore your lost data very much depend on how much time has passed since the files were removed.